OpenId Connect Auth Guide
Introduction
In this document we will explain everything you need to know about the OpenID Connect authentication mechanism: what it is, what it provides, how it works and how to use it.
What it is
OpenID Connect (OIDC) is an authentication method supported by the Sequent Platform that works on top of the OAuth 2.0 framework. OIDC allows voters to use single sign-on (SSO) to authenticate using 3rd-party OpenID Providers (OPs), such as an email provider or social network, to authenticate their identities.
Sequent Platform also supports the SmartLink authentication method to implement Single Sign-On.
How it works
SmartLink is a native authentication method in Sequent platform. Voters will be sent from the Login page to a third-party OpenID Provider (OP), and authenticated there. Please note that still, authorization is done by Sequent platform. This means that the administrator need to upload the census in Sequent platform, unless using an Open Census setting.
The authentication flow compromises the following steps:
- Voters access the Login page.
- In the login page, the voter click in one of the OPs configured for the election and listed in the login page.
- After clicking on the OP link, the voter is redirected to an external website provided by the OP, where the voter can authenticate.
- Once authenticated in the external website of the OP, the voter is redirected back to a callback Sequent Platform URL.
- Sequent Platform receives some authentication token from the OP, which it uses to verify the voter identity. If the voter's identity claim from this token is part of the election census, the voter authorization verification is successful and the voter is redirected to the Voting Booth.
This is more detailed in the Sequent OIDC Sequence diagram:
sequenceDiagram
    autonumber
    Voter           ->>+ WebBrowser: Request Sequent Login Page
    WebBrowser      ->>+ SequentBackend: Request Sequent Login Page
    SequentBackend -->>- WebBrowser: Returns Sequent Login Page
    WebBrowser     -->>- Voter: Renders Sequent Login Page
    Voter           ->>+ WebBrowser: Click on OIDC Provider Login Page
    WebBrowser      ->>+ OIDCProvider: Request OIDC Provider Login Page
    OIDCProvider   -->>- WebBrowser: Returns OIDC Provider Login Page
    WebBrowser     -->>- Voter: Renders OIDC Provider
    Voter           ->>+ WebBrowser: Provides Authenticaton Credentials
    WebBrowser      ->>+ OIDCProvider: Send Authenticaton Credentials to OIDC Provider
    OIDCProvider   -->>- WebBrowser: [If successful]<br>Authenticates and redirect back to<br>Sequent Login Page + ODIC Auth Token
    WebBrowser      ->>+ SequentBackend: Request Sequent Login Page
    SequentBackend -->>- WebBrowser: Returns Sequent Login Page
    WebBrowser     -->>- Voter: Renders Sequent Login Page
    WebBrowser      ->>+ SequentBackend: [Login Page] Authenticates using OIDC Auth Token
    SequentBackend -->>- WebBrowser: [If successful] Sends back Sequent Auth Token
    WebBrowser      ->>+ SequentBackend: Redirects to Voting Booth
    SequentBackend -->>- WebBrowser: Returns Voting Booth
    WebBrowser     ->> Voter: Renders Voting Booth
With respect to OIDC, we use the Server Flow, that is detailed by Google's OIDC documentation. This includes the creation and later the verification of a anti-forgery state token (Cross-Site Request Forgery token or CSRF token).
How to use OIDC
### 1. Create an election with OIDC authentication
You can download an
example OIDC election configuration and
import it in the Admin Portal. You'll have to change the oidc_providers and
the trustees to make it work with your deployment, though.
To create an election OIDC authentication, we need to:
Set the
auth_methodtoopenid-connect.Have an an extra_field named
sub. Thesubfield is the user identifier that will be authenticated by the OIDC Provider. Typically, it's the user's email address, but it could be any other identifier. It needs to be unique and it is a required field. Note that the extra field can be of any appropriate type, in this example it would of of typeemail.Use the
source_claimattribute for thesubextra_field - or any other - to populate authentication data from signed & verified id_token claims. For example, in google's case the id_token contains theemailclaim. More info about Google available claims here.Configure available OIDC Providers (OP) in the
census.oidc_providersparameter of the election. You can configure multiple OPs, and then use thecensus.config.provider_idssetting to show them in order.The OP should be configured to request a specific scope using the
scopeparameter. For example, in Google's case if you want to obtain theemailclaim as mentioned earlier, you need to requestopenid emailscope as explained in Google OIDC documentation.Also, this makes the parameters compatible with alternative auth methods, since you can set the
census.oidc_providersat the auth event level, and configure theopenid-connectauth method as an alternative authentication method whose configuration refers to these providers.
Each OP has different ways to configure their deployment and how to do that is out of the scope of this guide. We'll use Google as our example OIDC provider. You can read here about how to setup OIDC support in Google.
The configuration of an election with Google as a provider will be similar to
the one below, but with a different value for the keys client_id and
client_secret, and of course you can also change at will the id, title,
description and icon parameters.
Something like what you can see below:
{
   "id": -1,
   "title": "OIDC Test Election",
   "census": {
      "auth_method": "email",
      "extra_fields": [
         {
            "name": "sub",
            "type": "email",
            "required": true,
            "source_claim": "email",
            "min": 1,
            "max": 255,
            "unique": true,
            "required_on_authentication": true
         }
      ],
      "oidc_providers": [
         {
            "public_info": {
               "id": "google",
               "title": "Authenticate with Google",
               "description": "Authenticate with Google",
               "icon": "https://www.google.com/favicon.ico",
               "authorization_endpoint": "https://accounts.google.com/o/oauth2/v2/auth",
               "client_id": "<CLIENT_ID>.apps.googleusercontent.com",
               "issuer": "https://accounts.google.com",
               "scope": "openid email",
               "token_endpoint": "https://oauth2.googleapis.com/token",
               "jwks_uri": "https://www.googleapis.com/oauth2/v3/certs",
               "logout_uri": "https://accounts.google.com/o/oauth2/v2/auth_logout"
            },
            "private_info": {
               "client_secret": "<CLIENT_SECRET>"
            }
         }
      ],
      "config": {
         "provider_ids": ["google"],
         "authentication-action": {
            "mode": "vote",
            "mode-config": {
               "url": ""
            }
         },
         "registration-action": {
            "mode": "vote",
            "mode-config": null
         }
      }
   },
// ... rest of the configution ....
}
### 2. Authenticate as a voter
To authenticate, you first need to:
- Ensure the user is part of the census
- Start the voting period
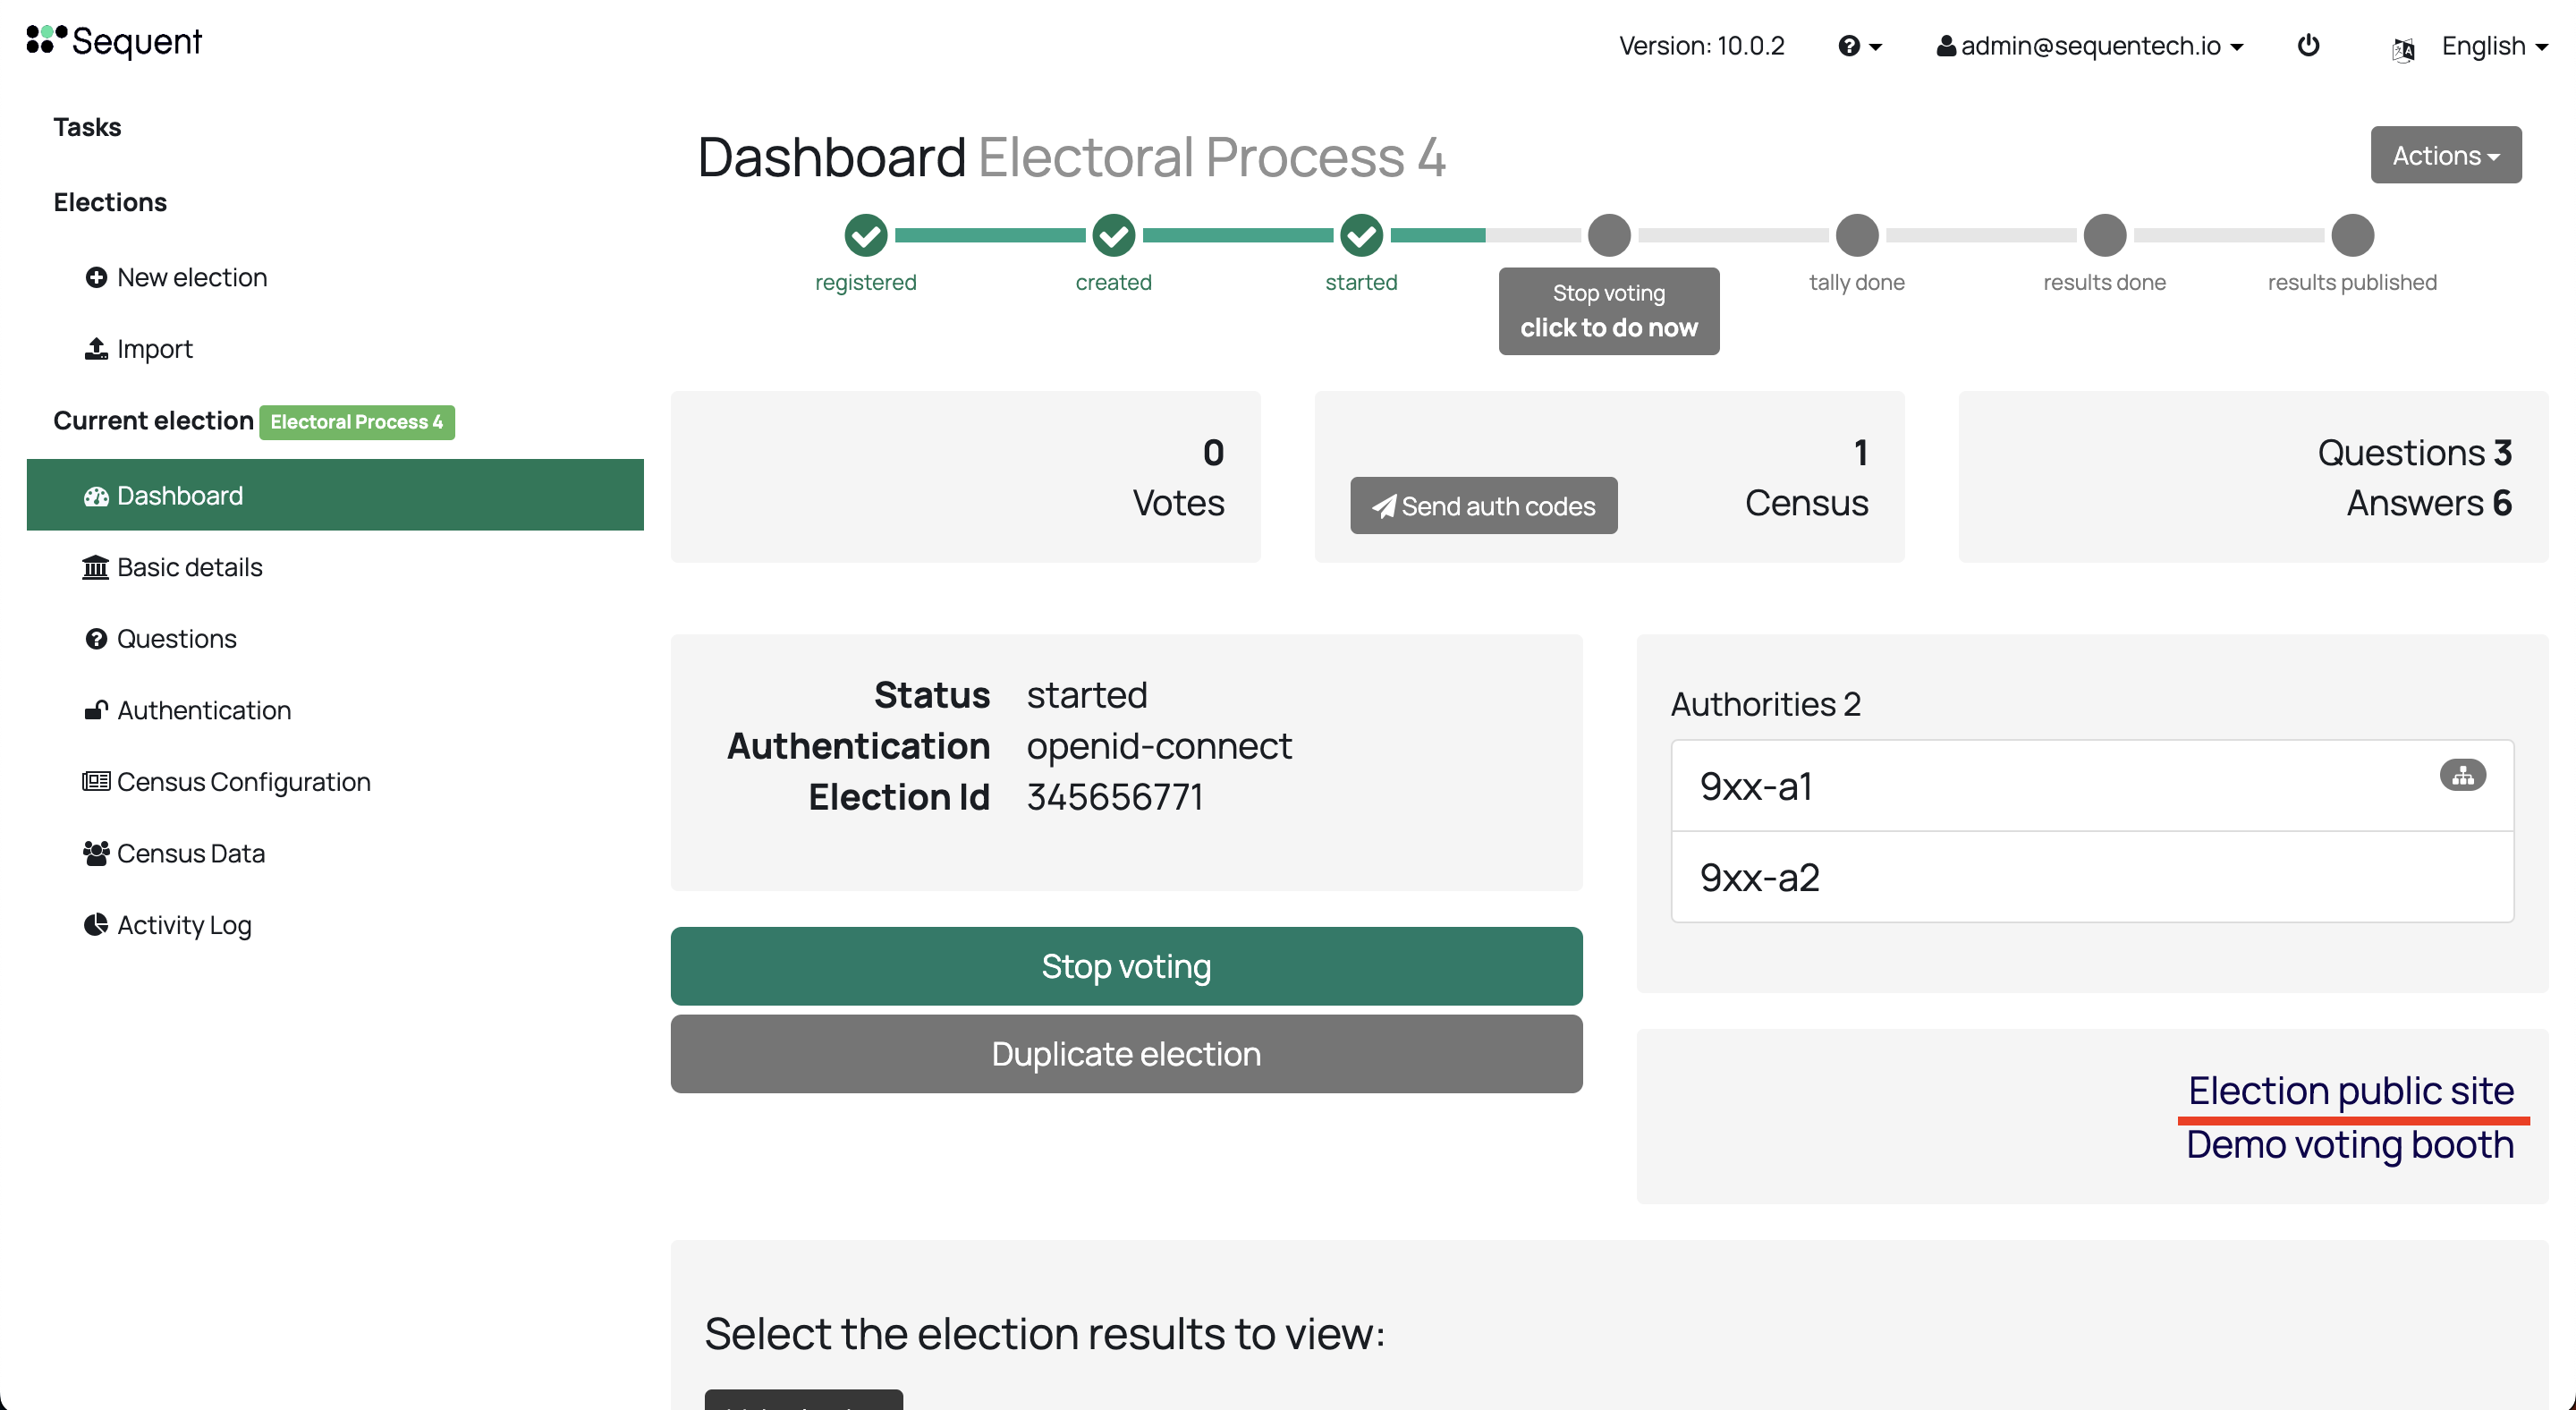
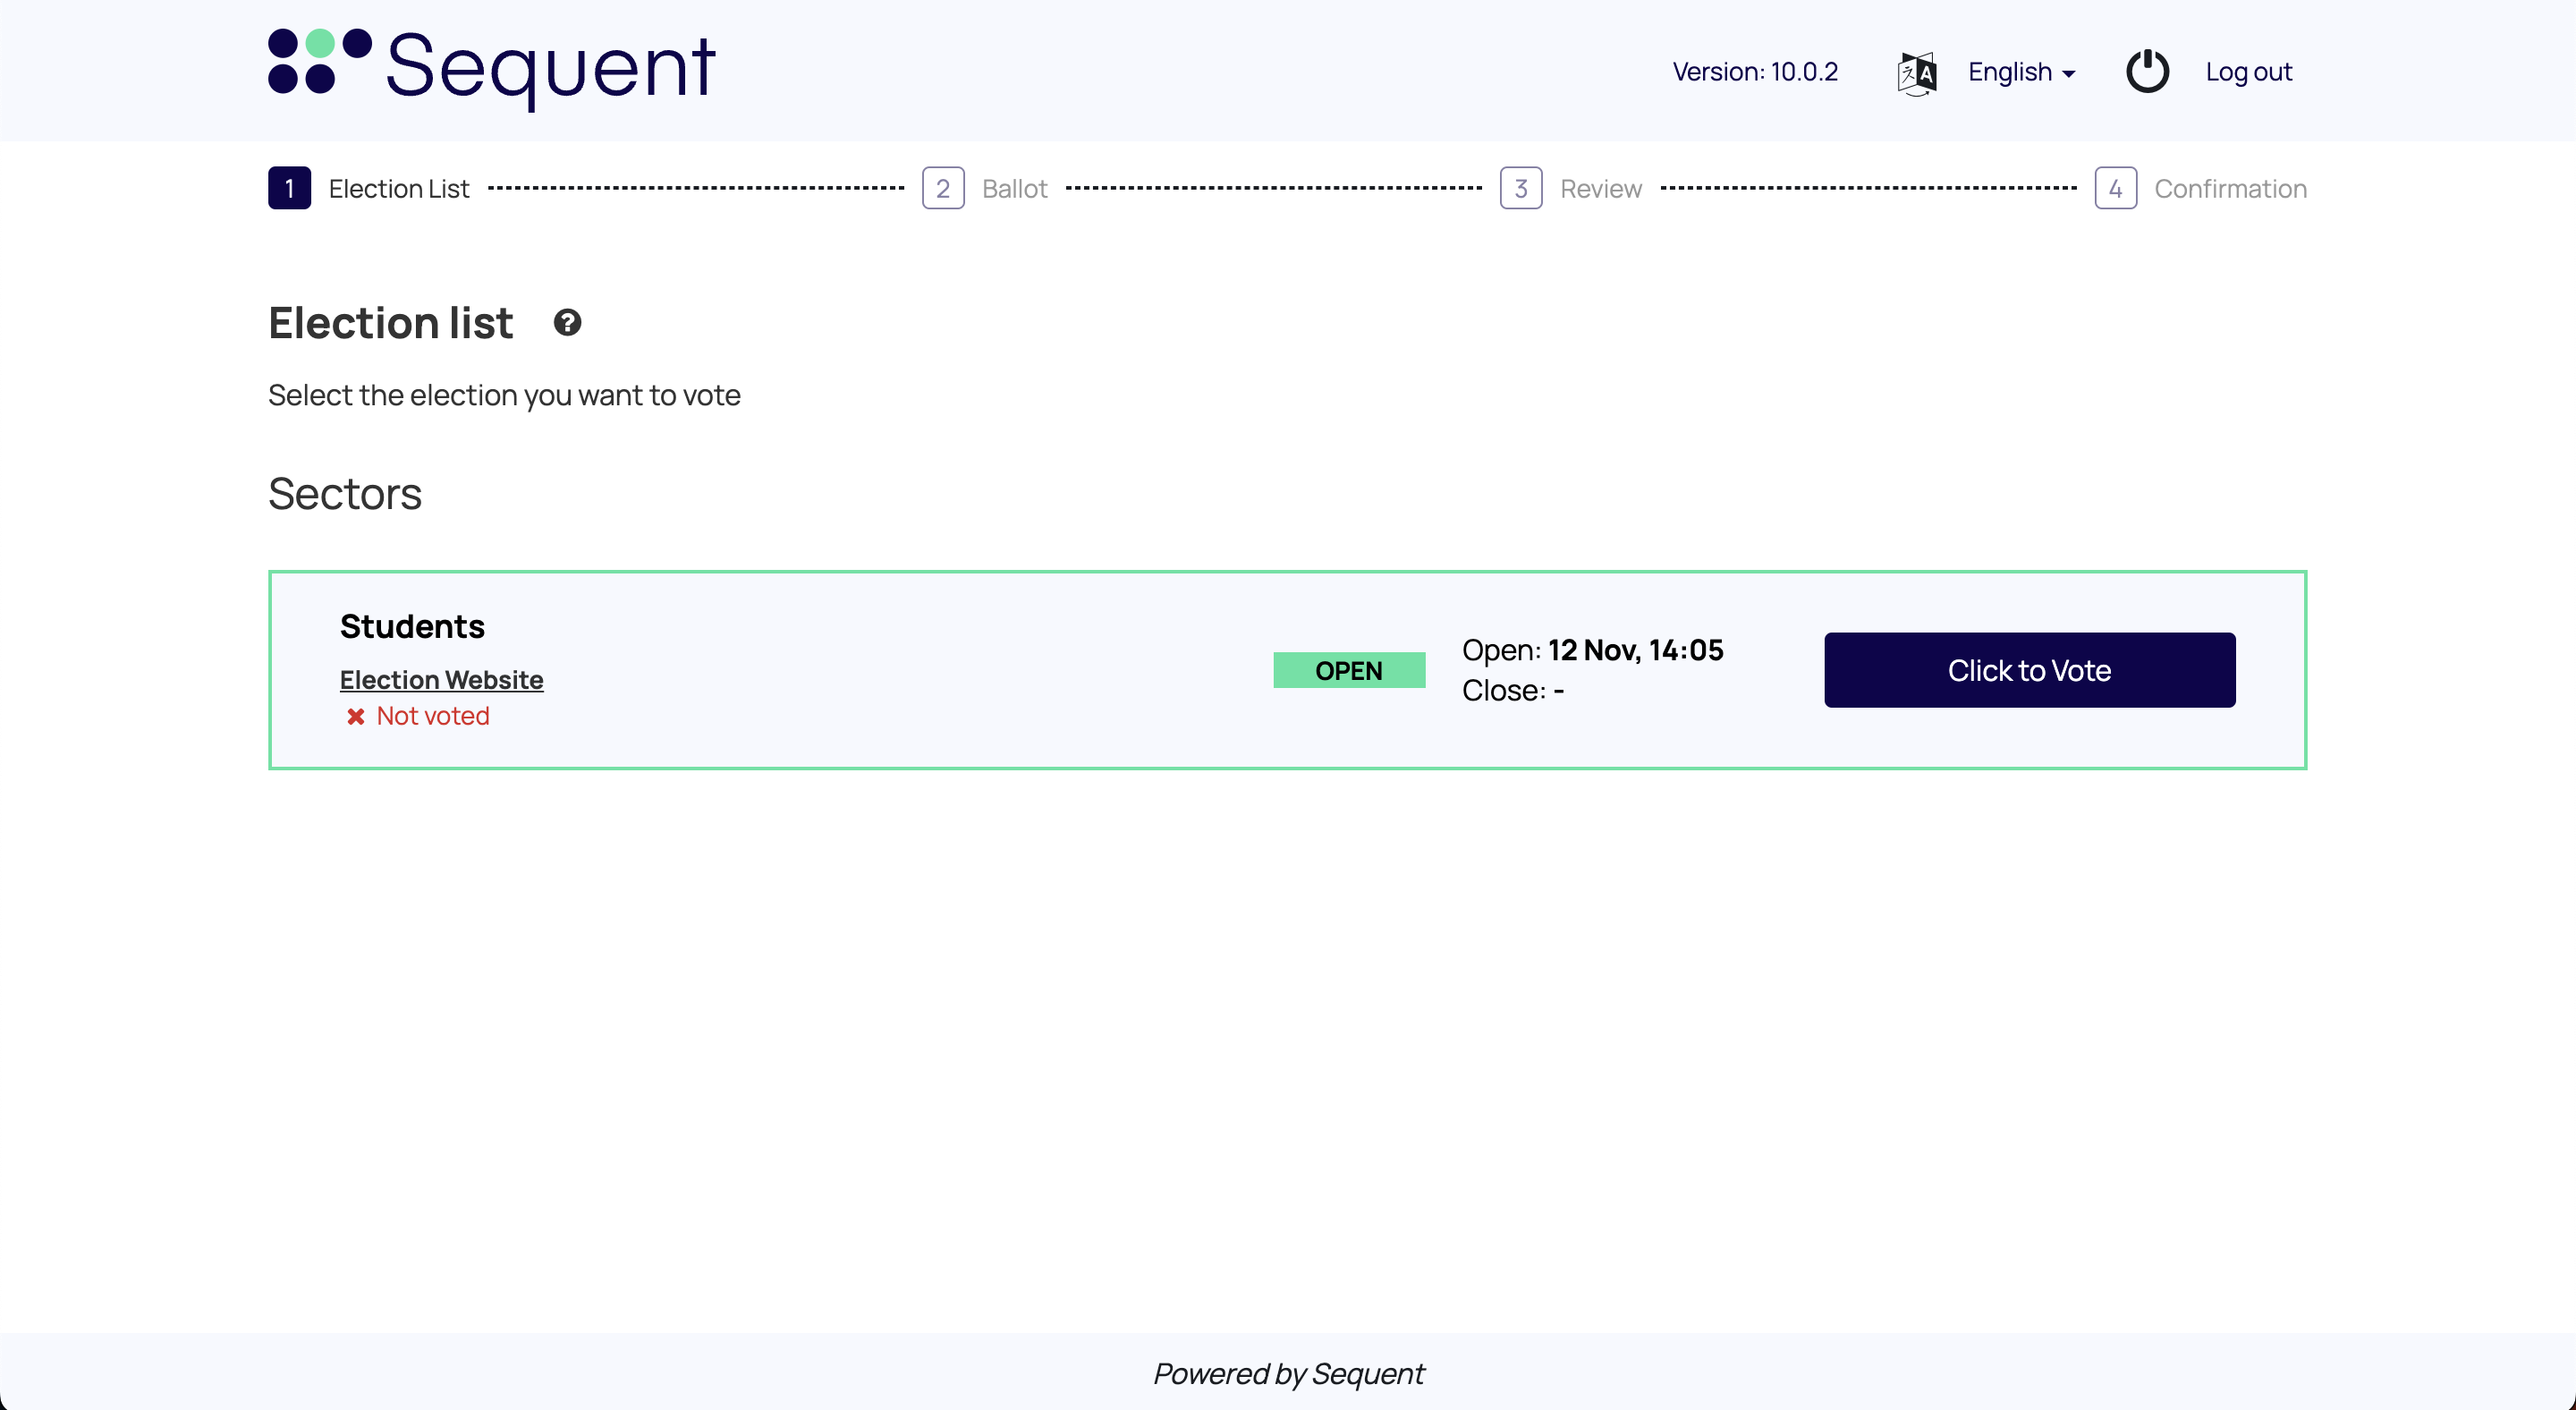
Once done that, you can enter the Election Public Site clicking on it on the election's dashboard:
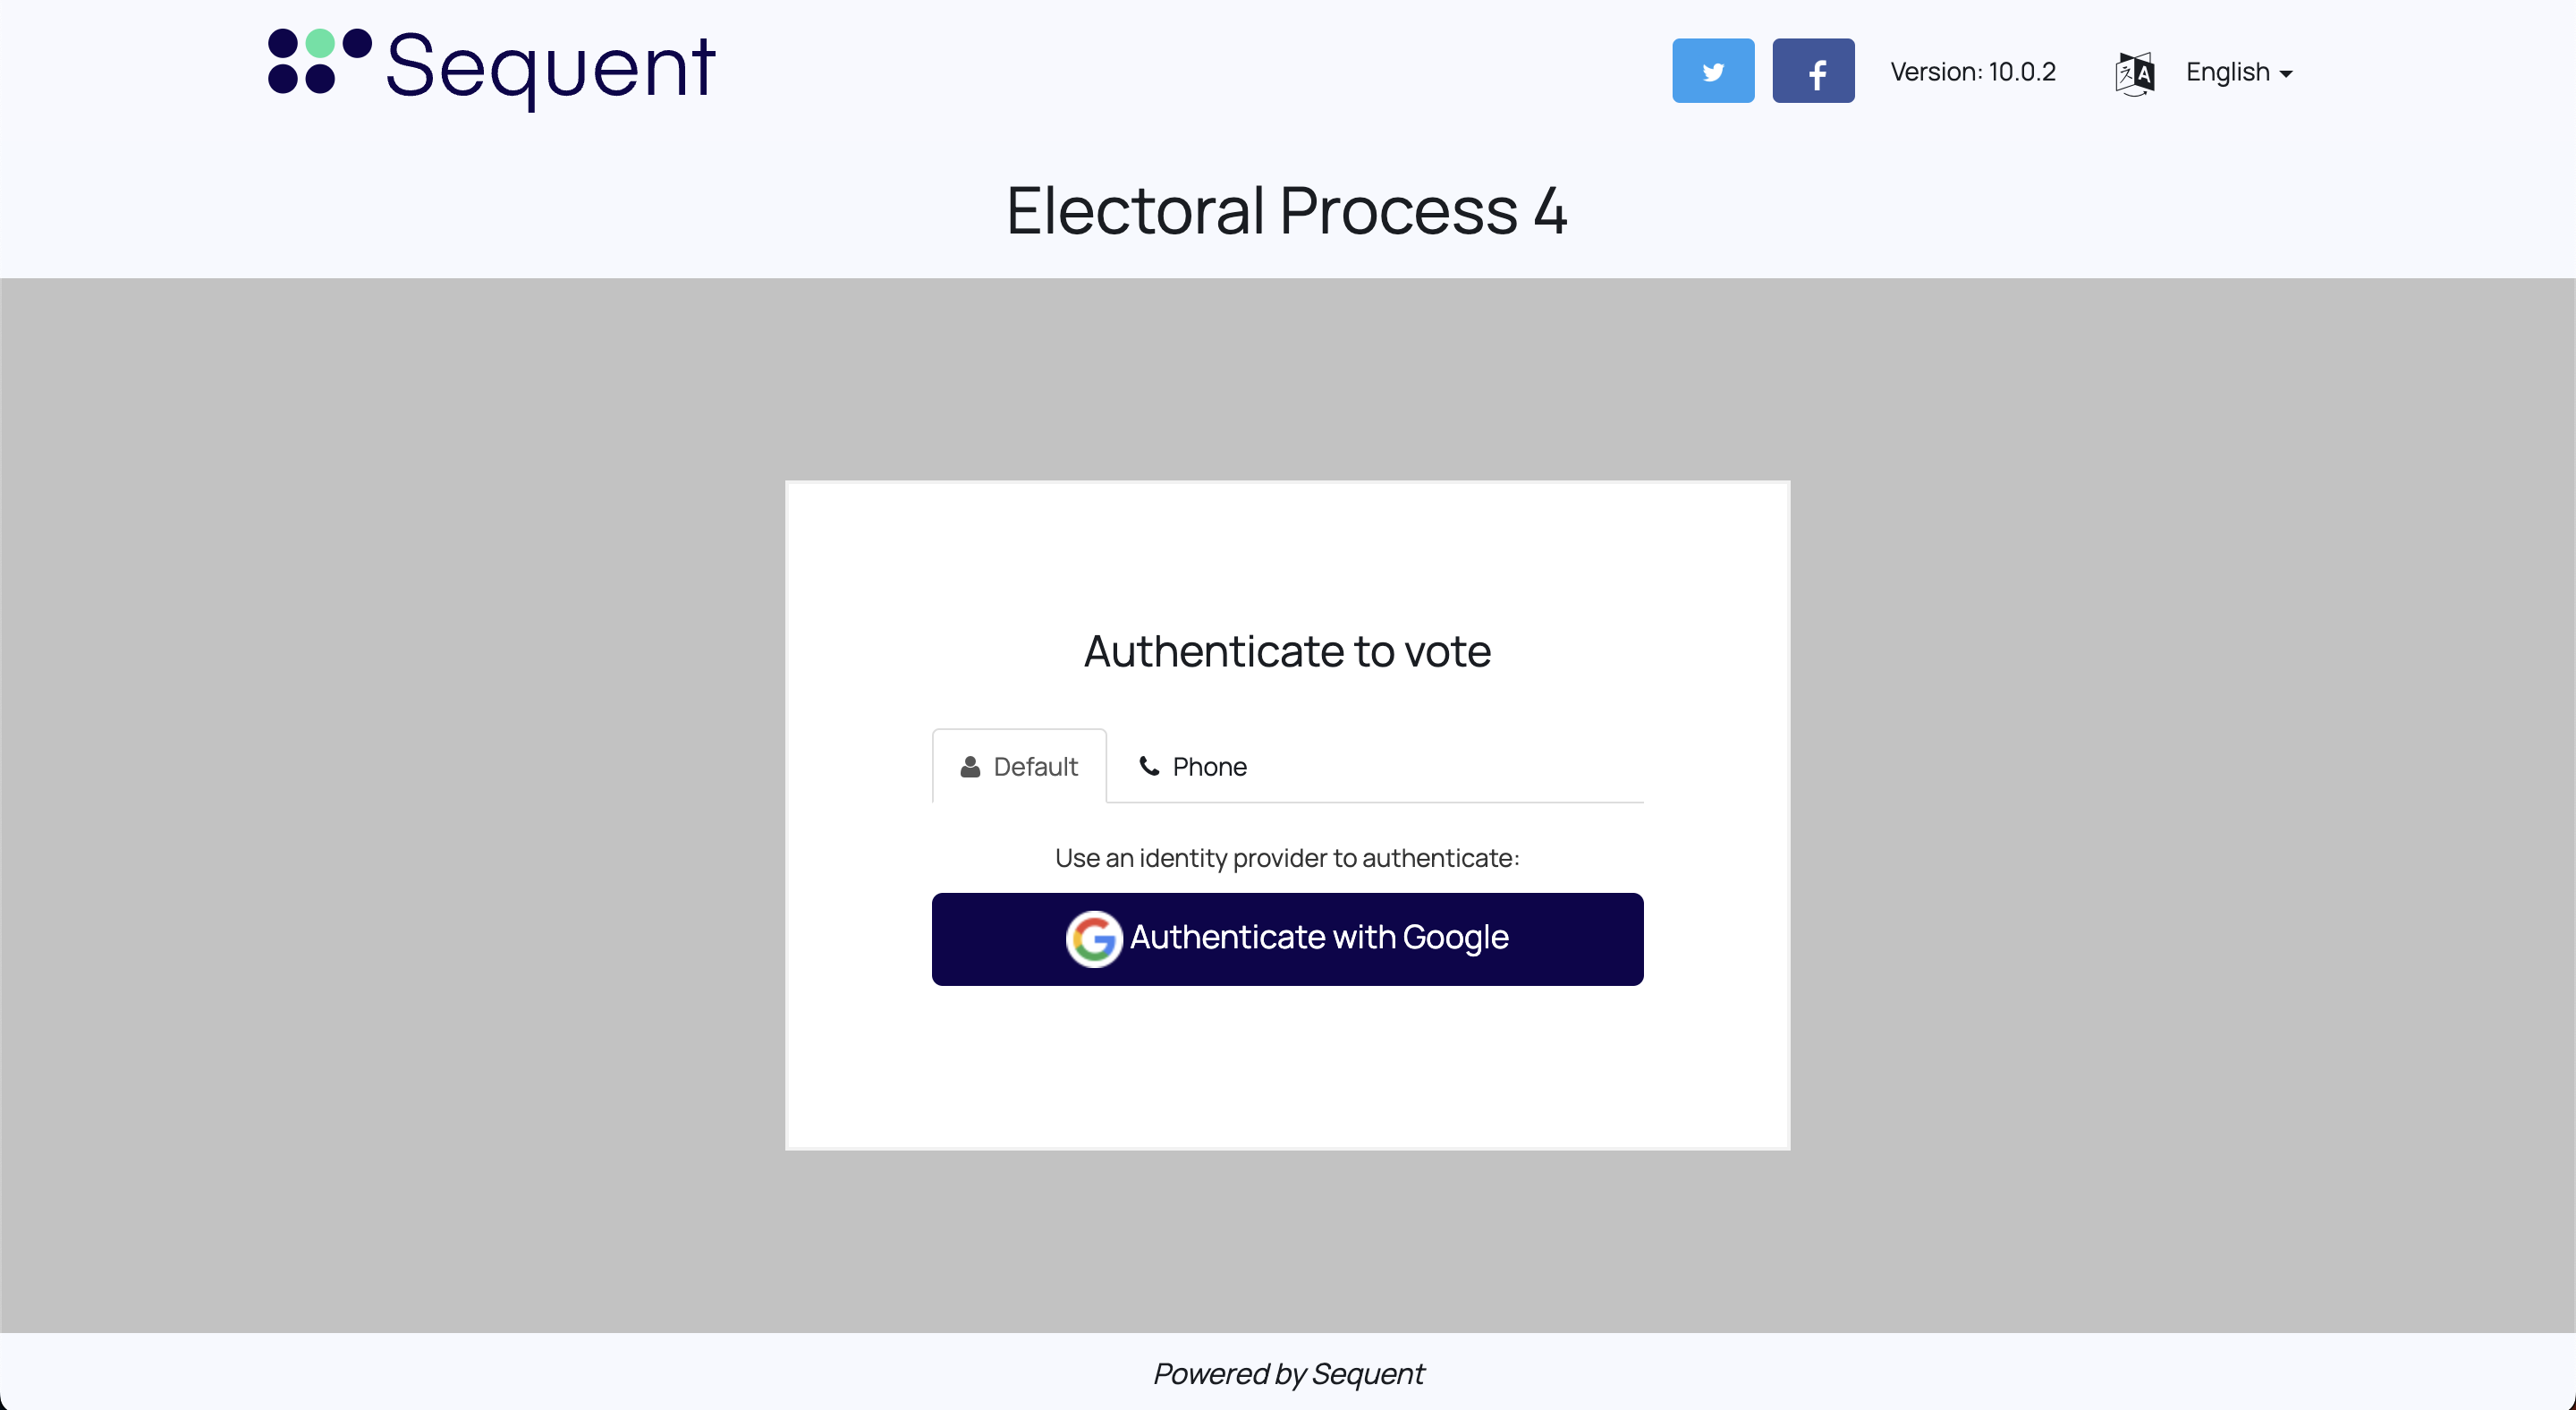
Click in the Vote button in order to show the login page:

Which would show the Voter's Login page (in the example shown in the image below, we also habilitated an alternative authentication method using SMS authentication):
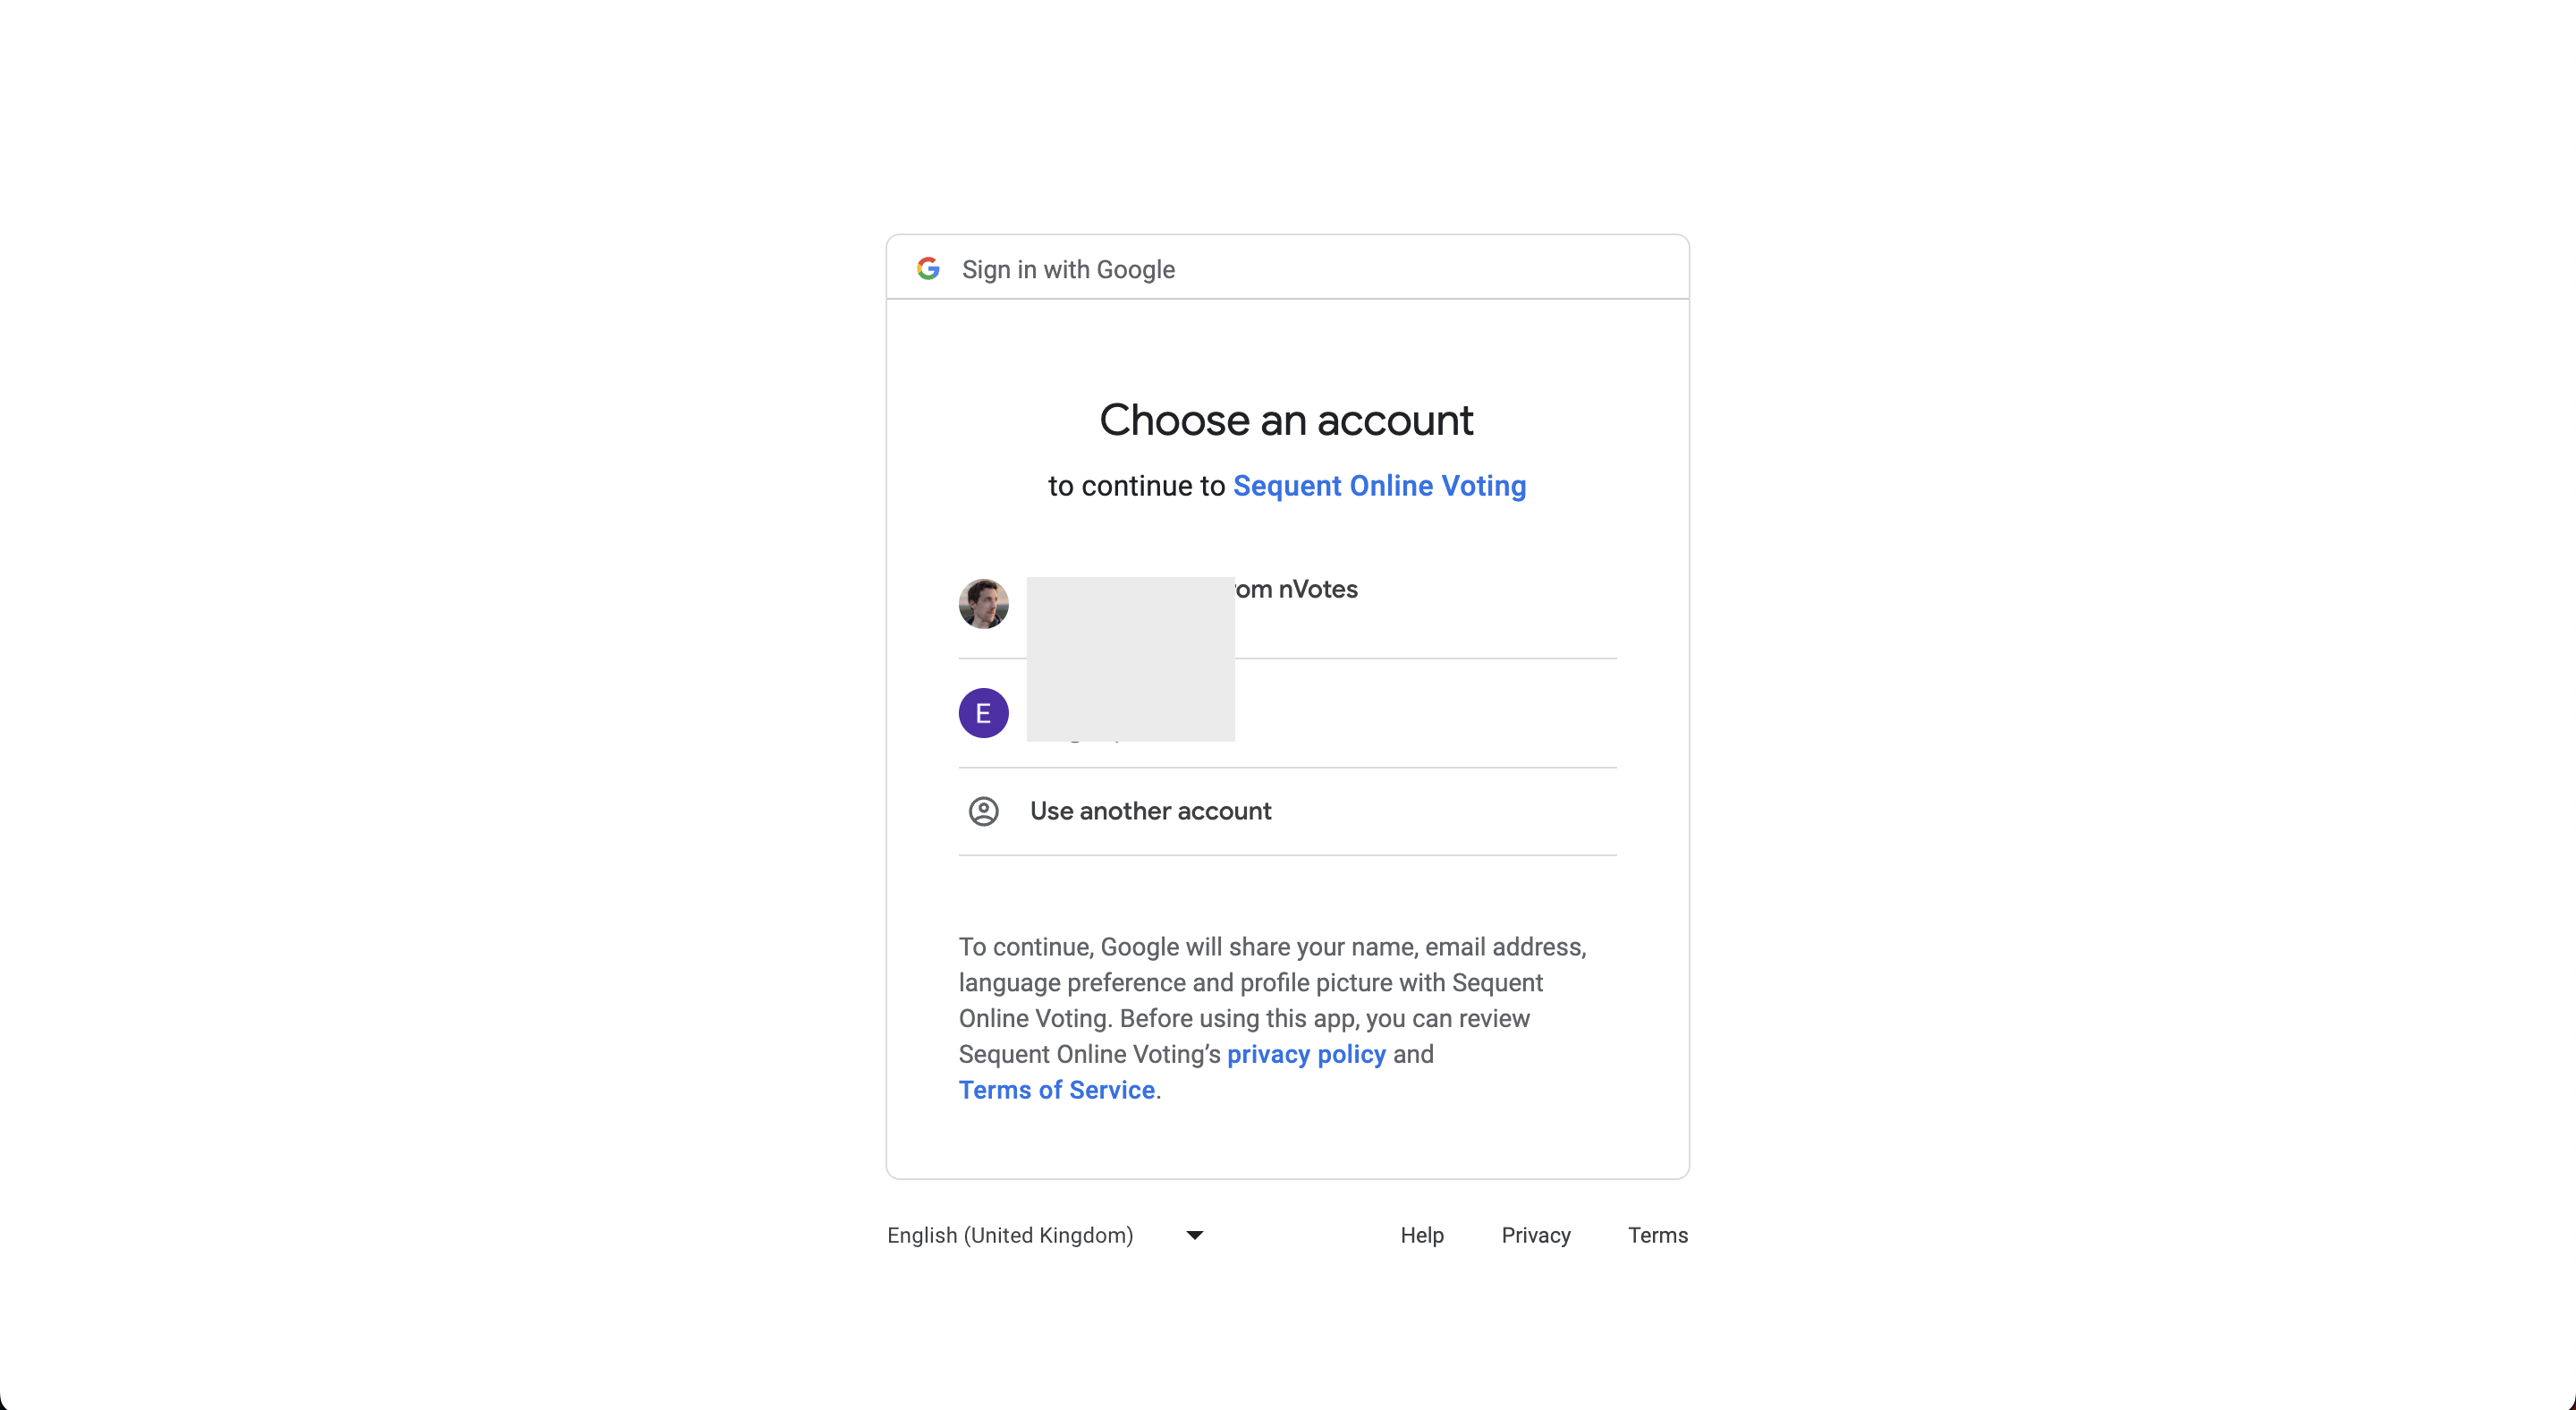
If you click on the Authenticate with Google button, you would be redirected
to Google OIDC authentication page:
Finally, you will be redirect back from the OIDC Provider to Sequent's platform. Sequent Platform will transparently verify the identity data from the OIDC Provider, verify the authorization of the authenticated voter, and if everything checks out, the voter will be shown the Voting Booth as an authenticated voter.
Below you can see the Voting Booth of an authenticated voter. In this case, it's a Parent-children election so the voter is being shown the children election in which the voter has authorization to vote:
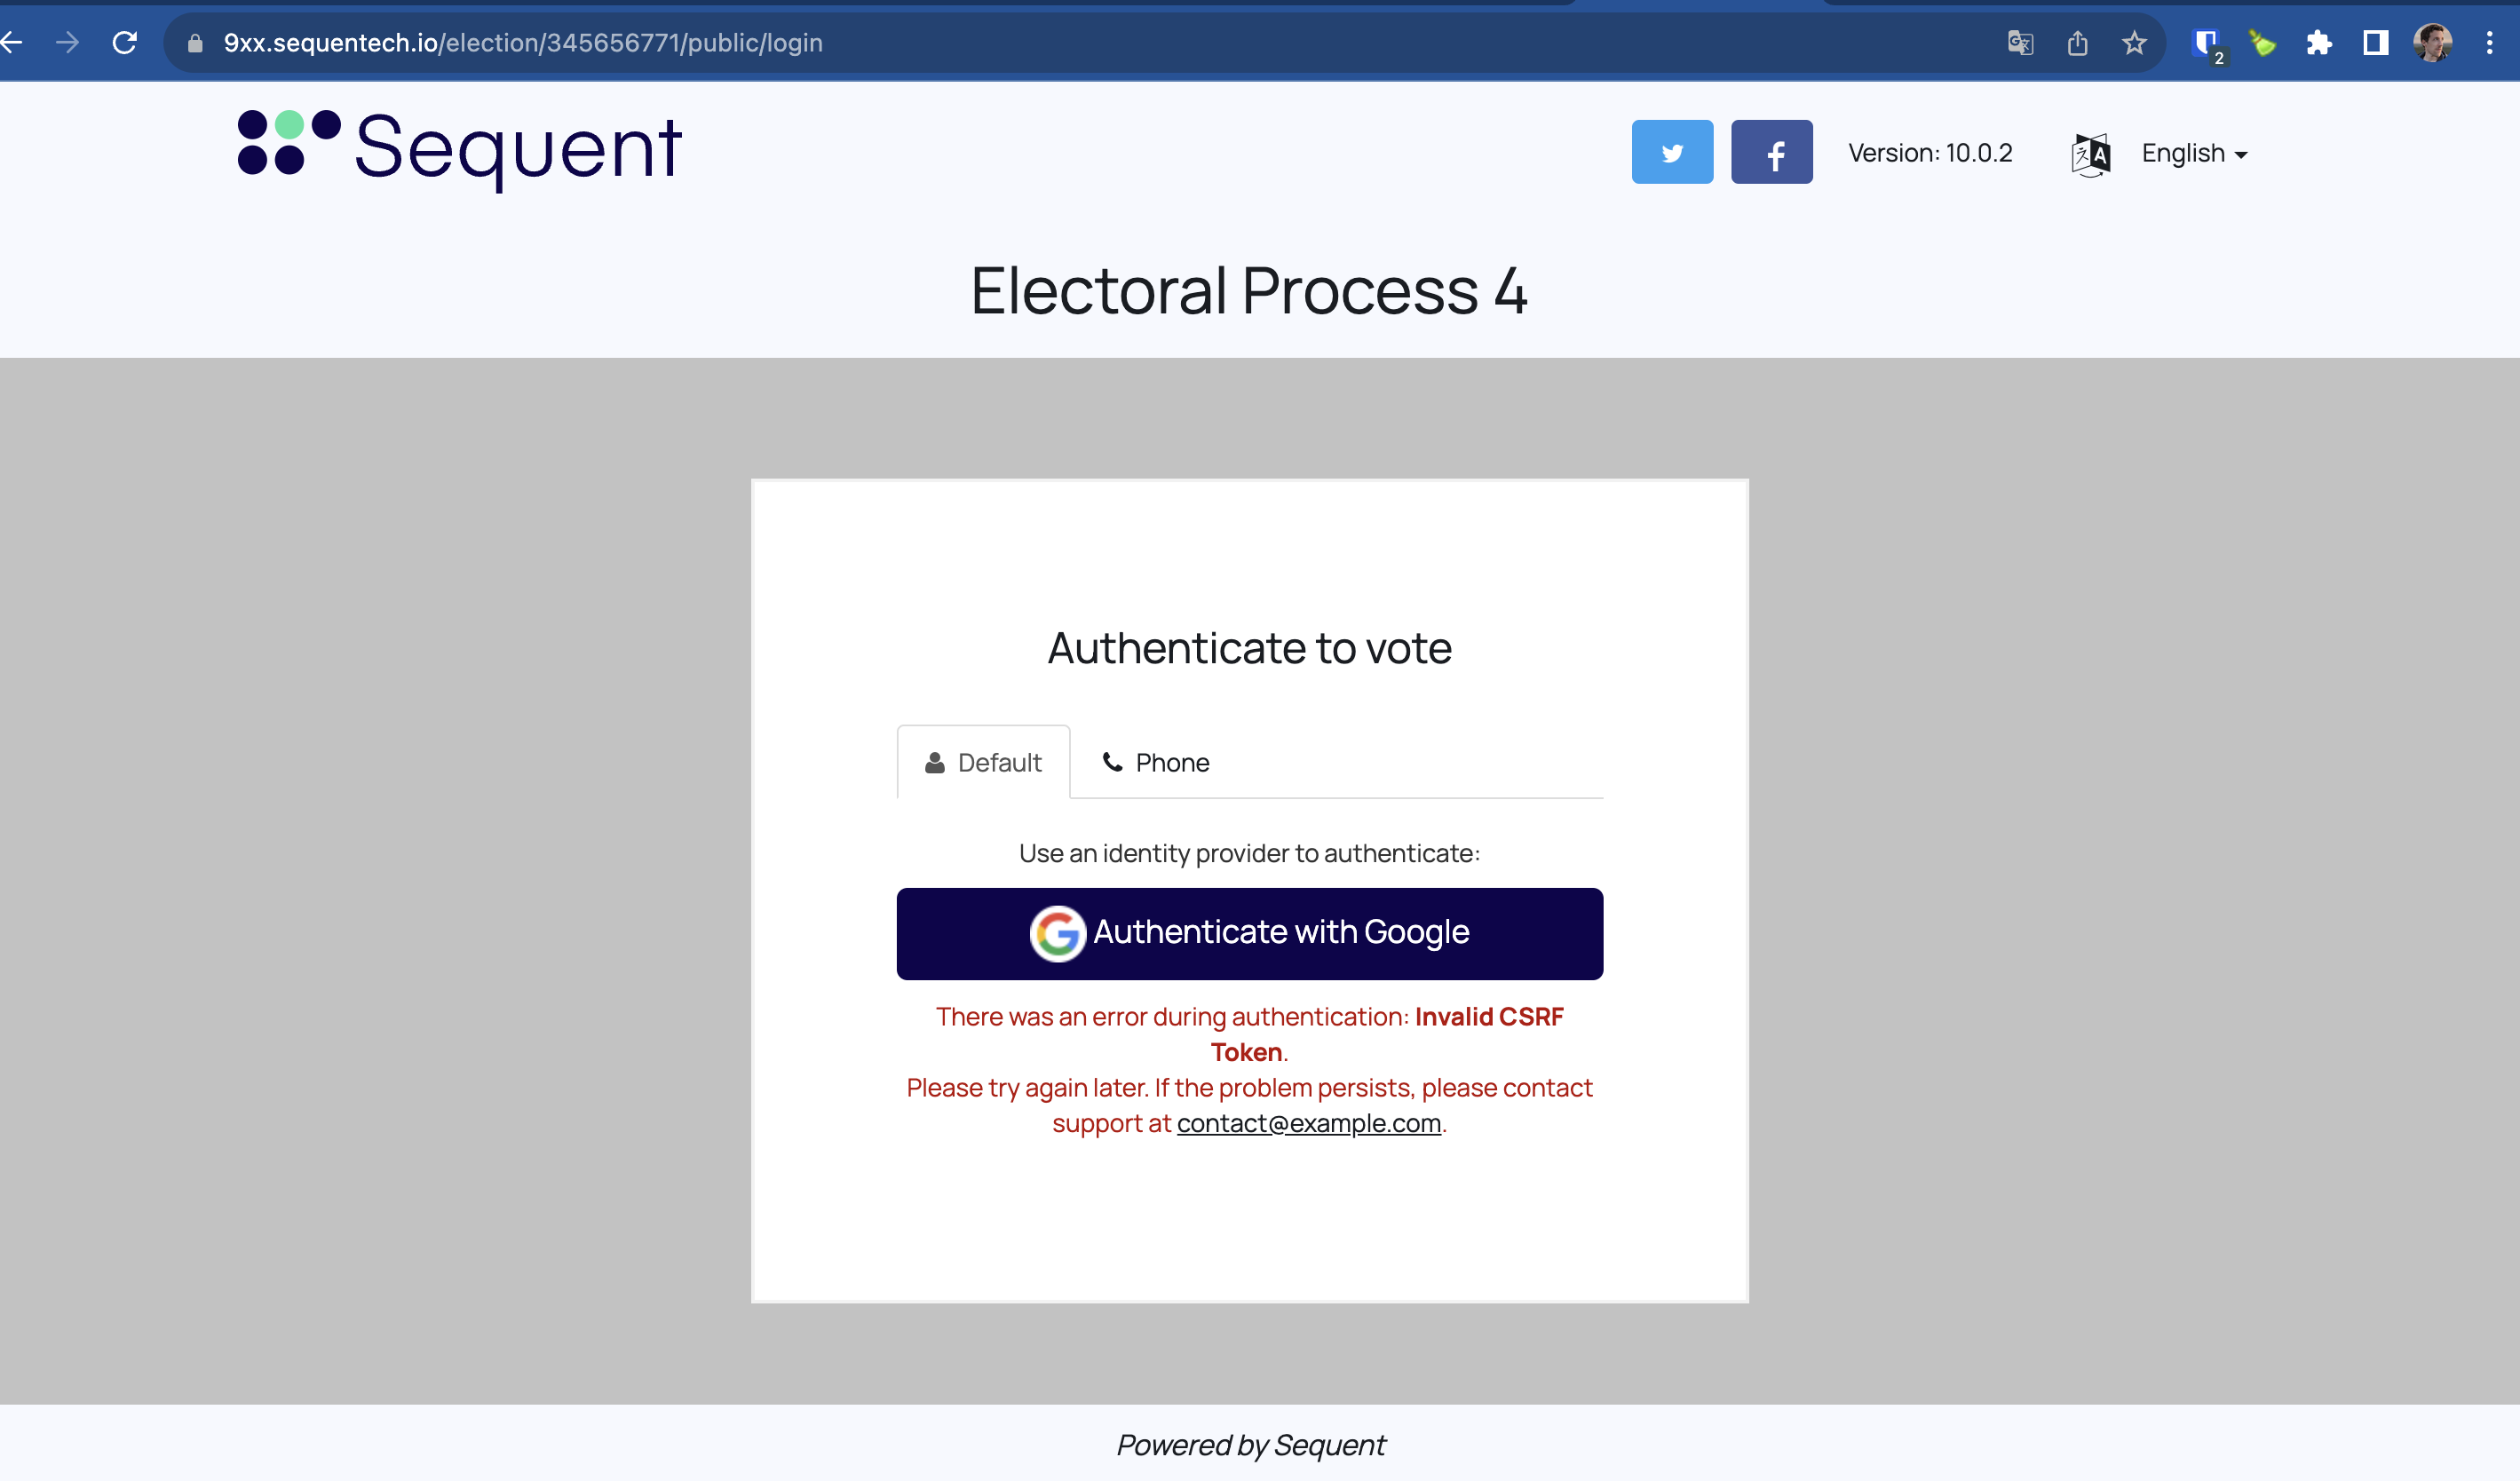
If for some reason the authentication fails, the voter would be redirected to the login screen, and shown an error message: