Election Creation Guide
In the Admin interface, given enough permissions you can create new
elections using the New Election buttons highlighted below:

Once you click there, you will something like the following, where you can graphically configure the main settings of an election like the election title, description, etc:

Using the left sidebar, you can access other configuration sections like
Questions or Authentication. However, it is currently not possible to
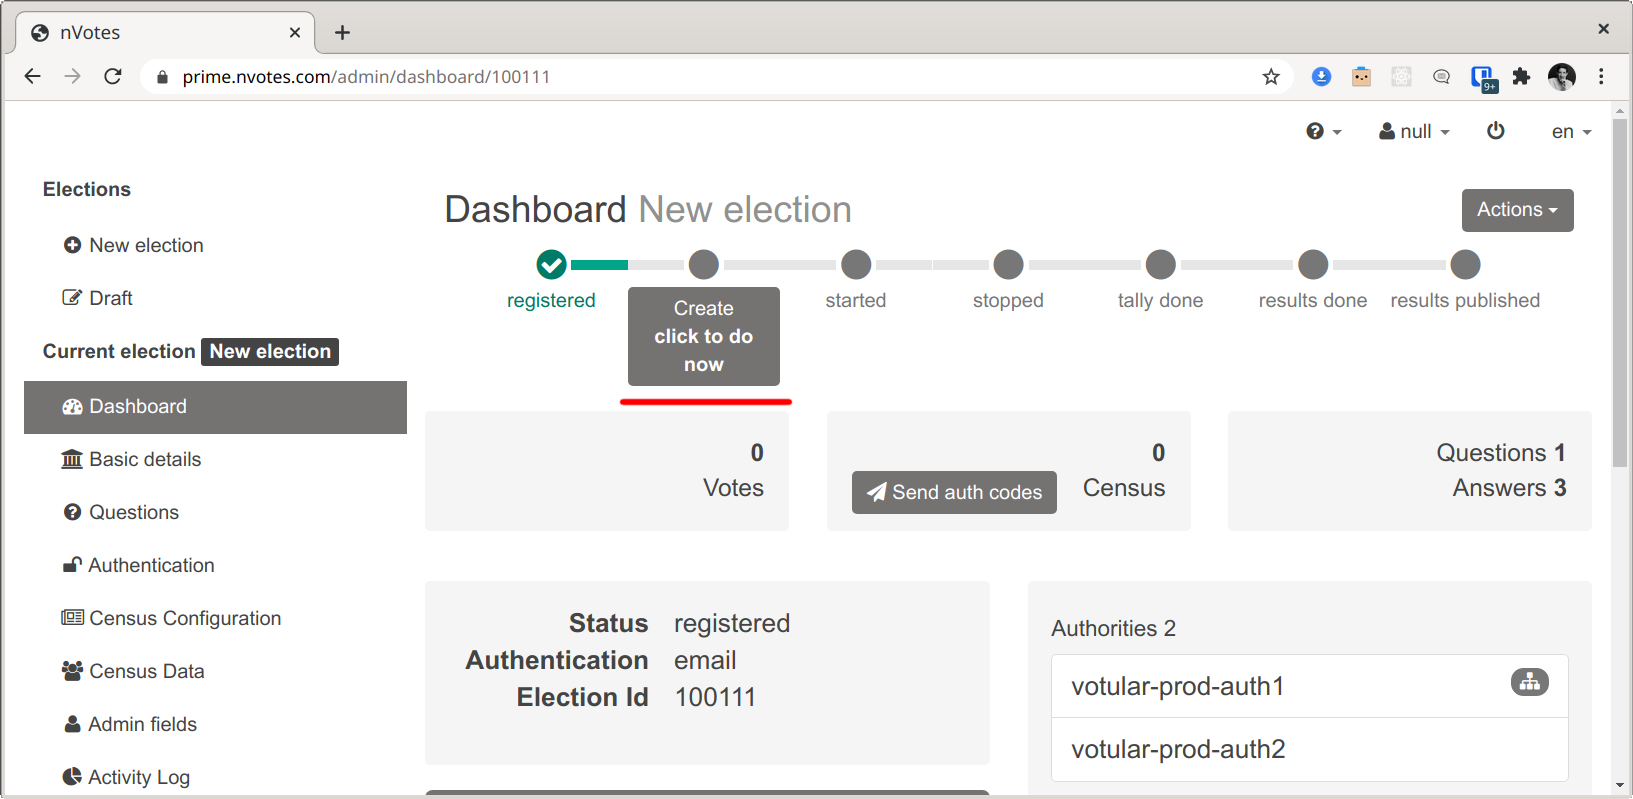
graphically configure some more advanced election settings. To be able to
configure these advanced, settings, click in the last sidebar item
Create Election:
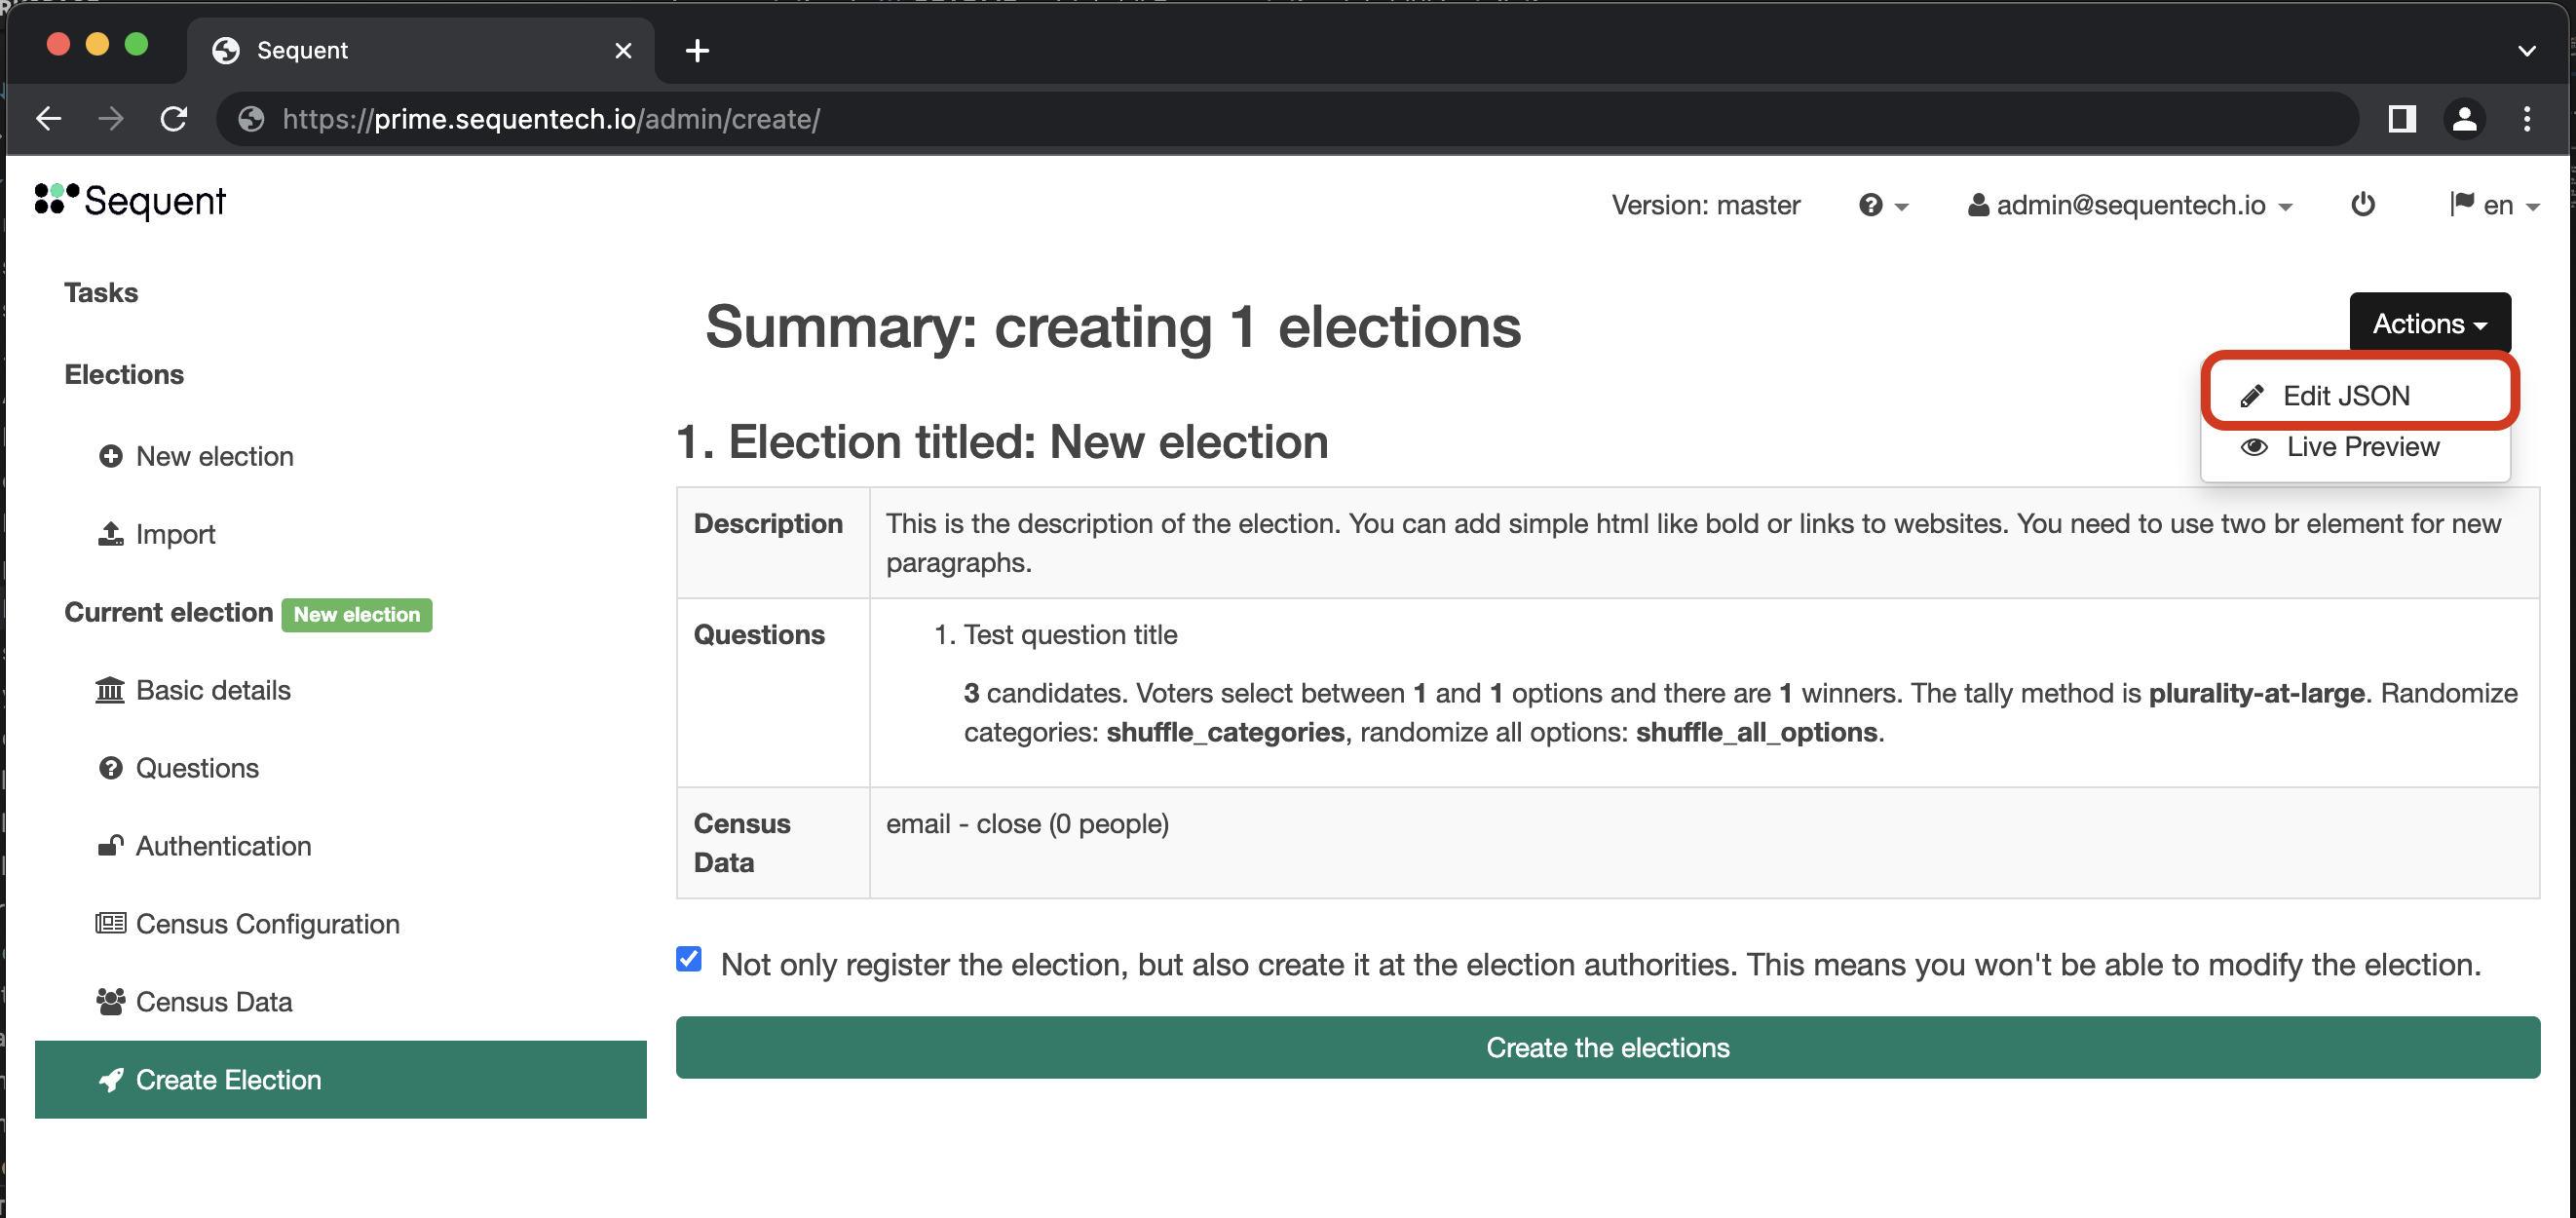
The Create Election sidebar section is the last step of election configuration,
where you can review the configuration before creating the election. At this
point, the election is configured - with some sample configuration if you
didn't change anything.
Edit JSON
If in the Create Election sidebar section you click in the Actions button
at the right top, and then click on Edit JSON from the dropdown menu, you
will access the Edit Election Json dialog, in which you can directly
edit in JSON format the election configuration:
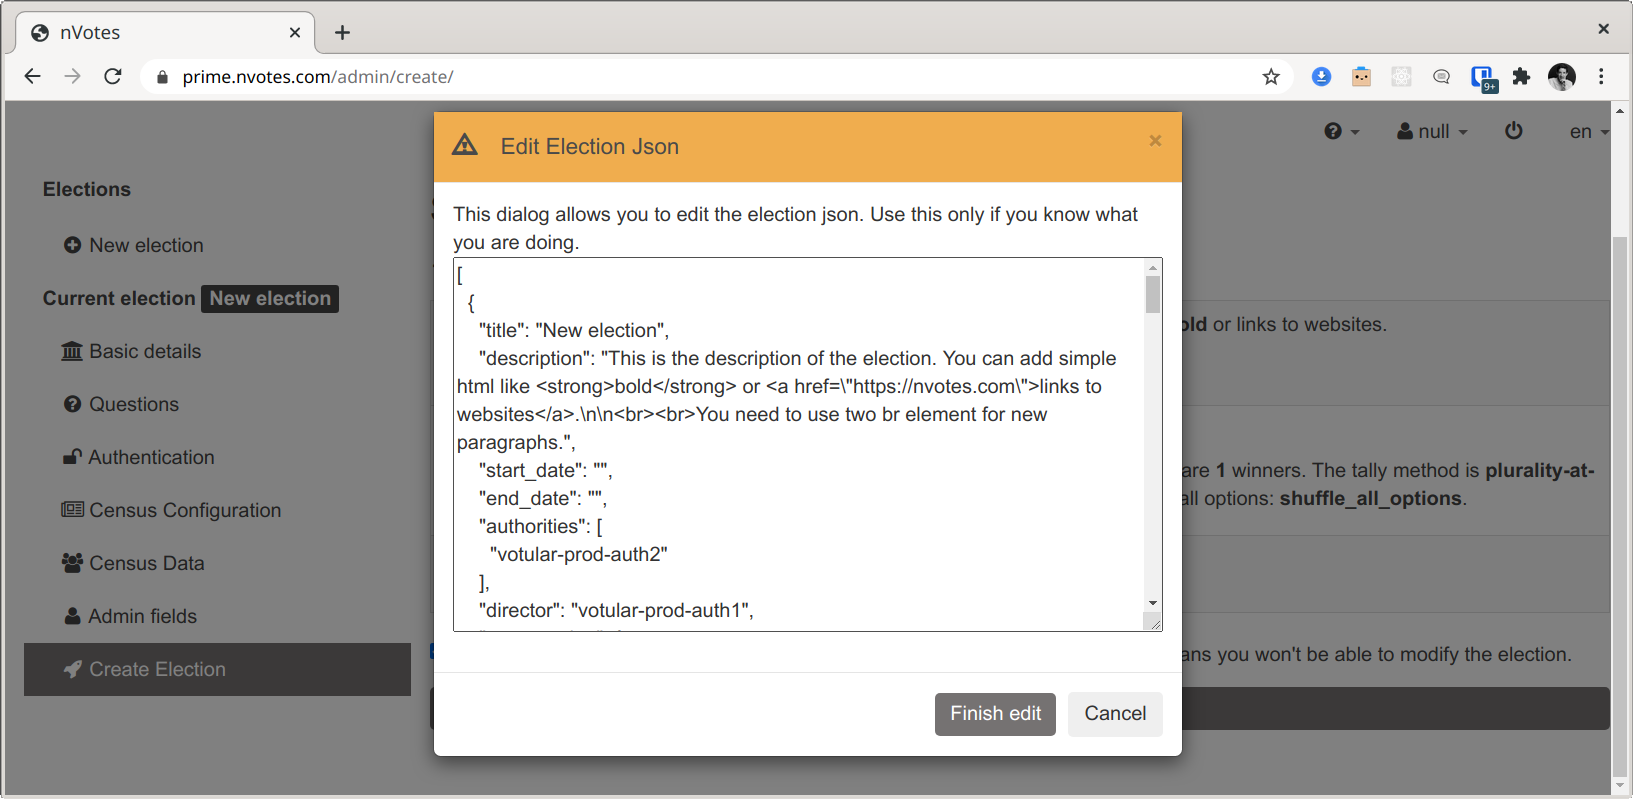
To know the details of the Edit JSON Format, please review the Election Creation JSON documentation in the Reference section.
Live preview
If in the Create Election sidebar section you click in the Actions button
at the right top, and then click on Live Preview from the dropdown menu, you
will access a live preview of the voting booth.
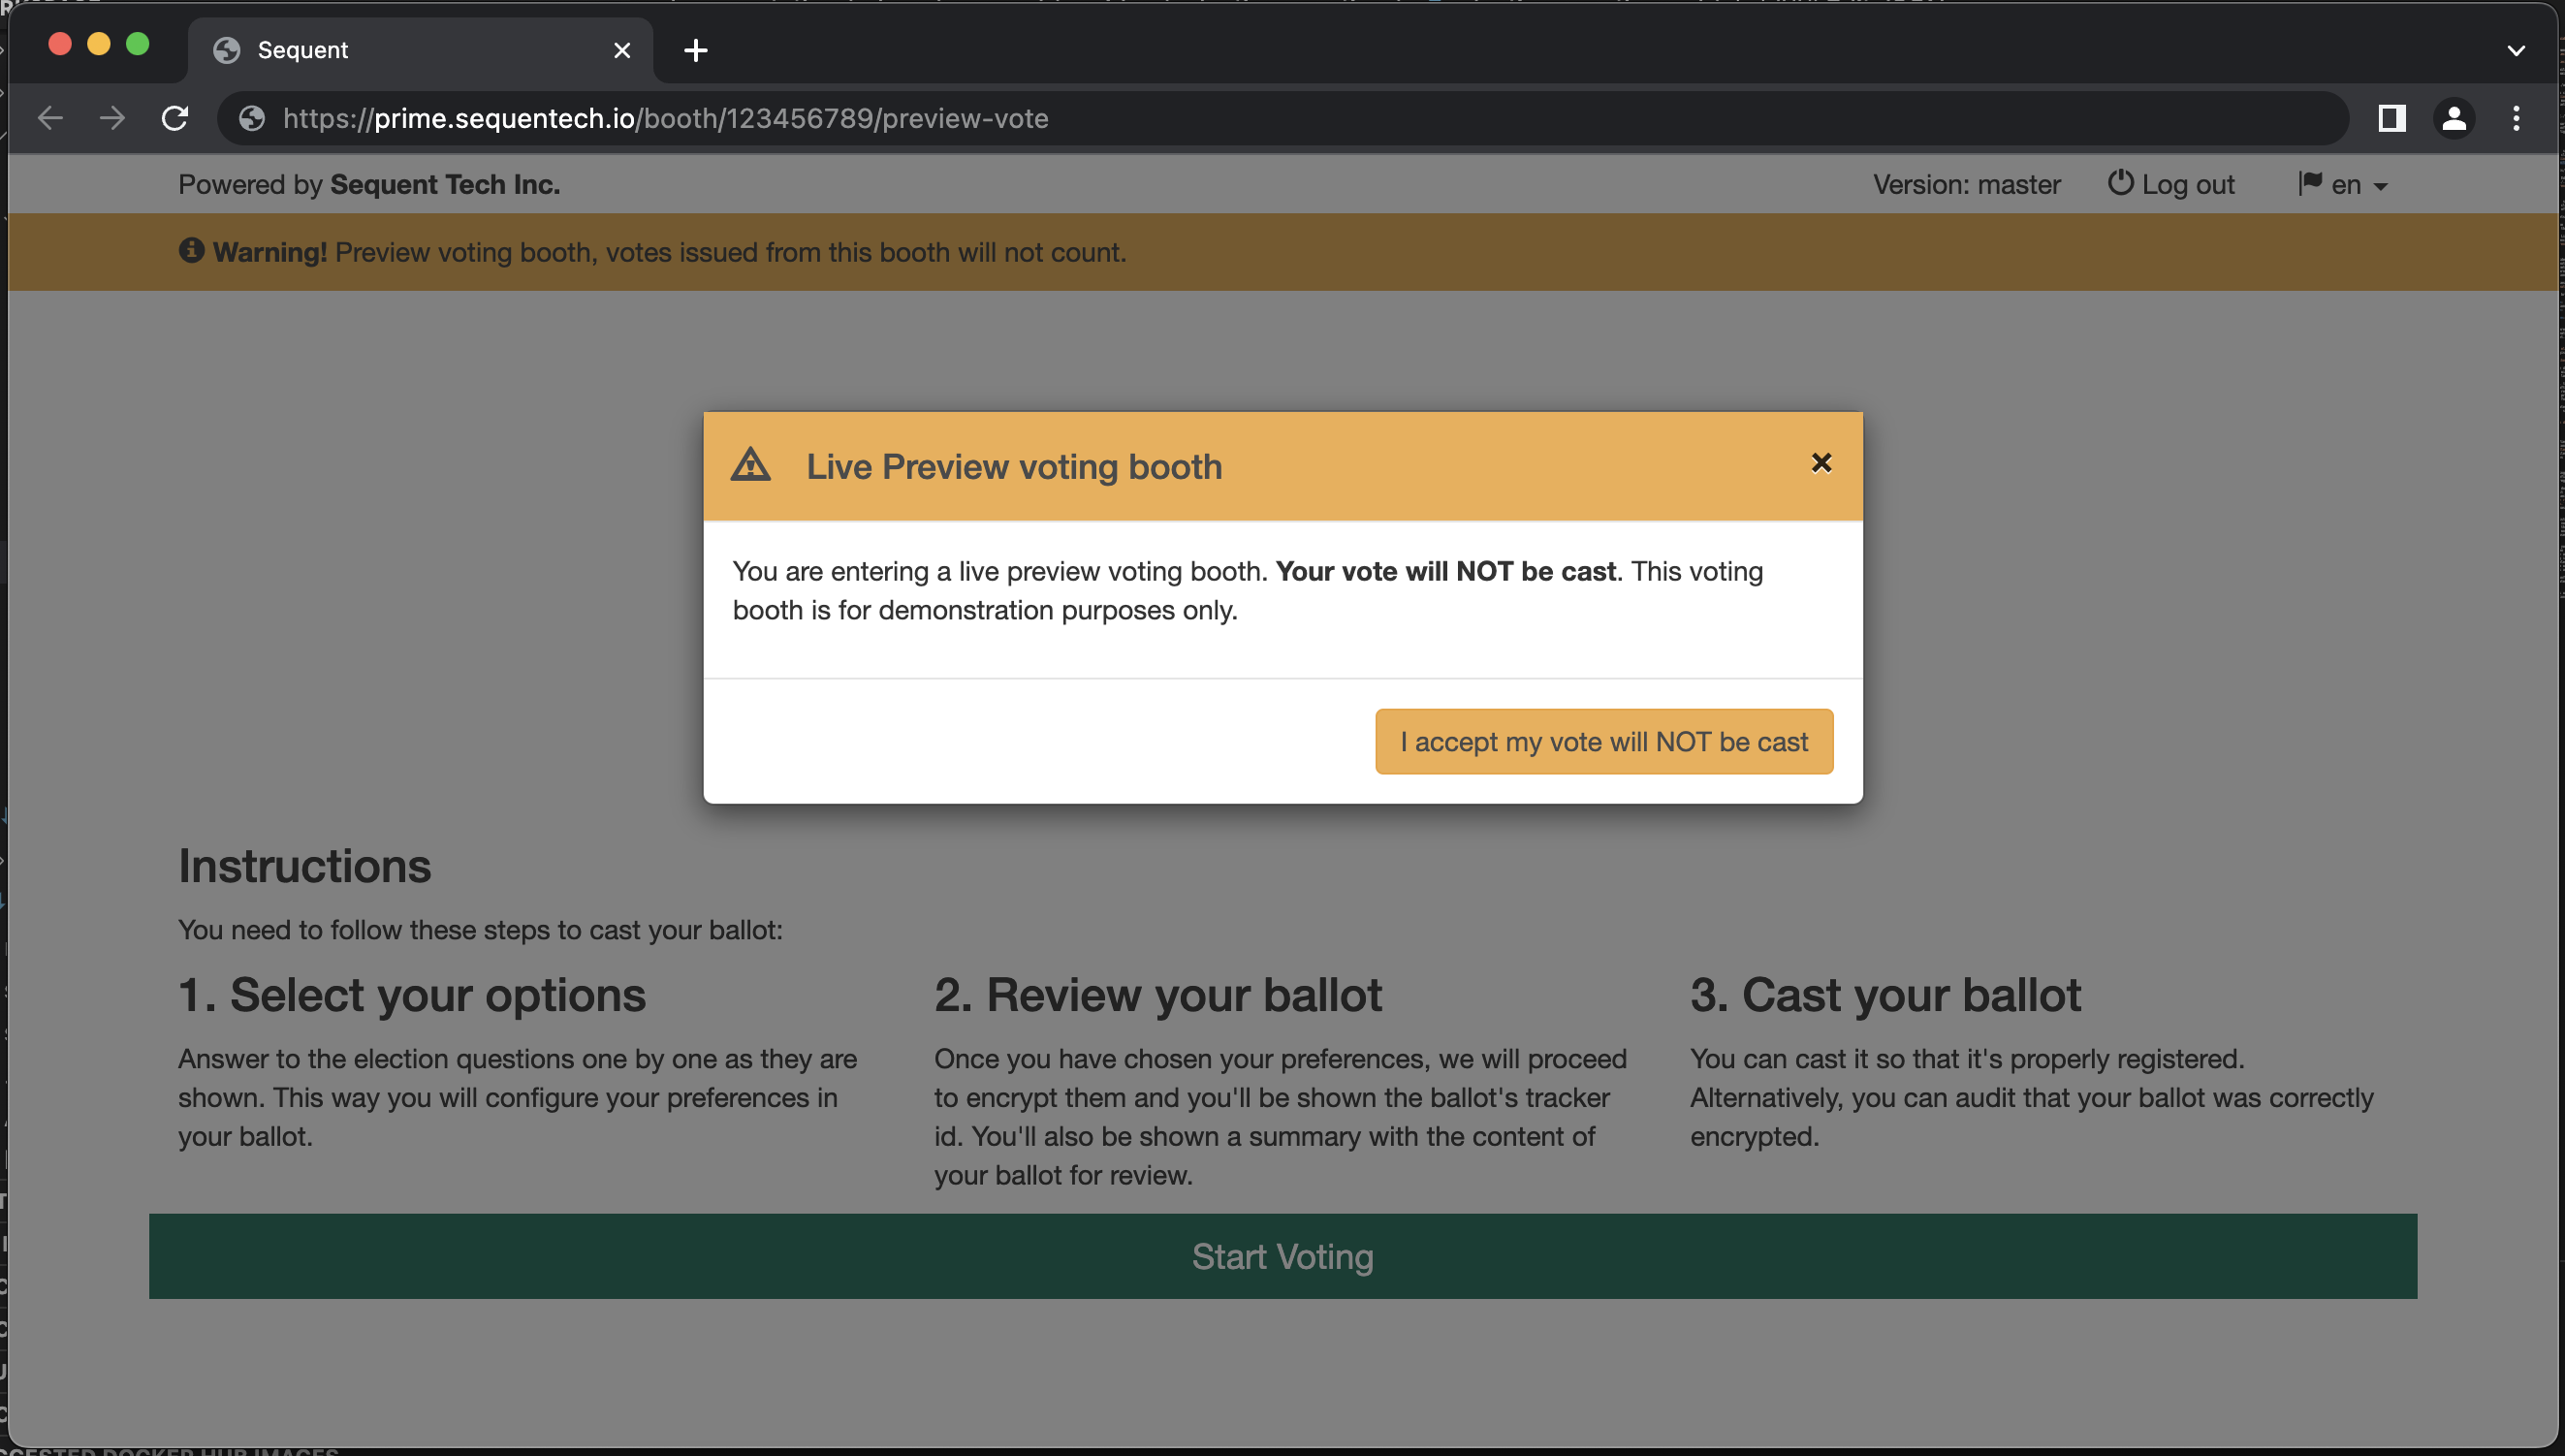
The live preview removes the need to create an election to see how the voting booth looks like, reducing the feedback loop.
To know the details of the Live Preview, please review the Live Preview documentation in the Reference section.
Creating elections
In the Create election sidebar section, you can review (and edit the json) of
the election(s) you are about to create in the system. At this point, the
elections are usually not yet created in the backend and exists only as a JSON
configuration in your web browser. There's an exception to that, that we will
discuss later in this section.
Election creation compromises multiple steps. Also, multiple elections can be
created at once in the Create election sidebar section.
For each election, the web browser will request in order to execute the following steps:
- Create the AuthEvent: An Authevent represents an event which has some specific voter authentication configuration and census of voters.
- Add the voter census: The voter census data is added to the just registered AuthEvent.
- Register the Election: The election is registed in
ballot-box, the ballot box API.
When an election is registered in ballot-box, the election public keys
and private are not yet created and no communication with the election
authorities has happened yet. At this stage, the election configuration can be
modified later on.
If you look at the Create election sidebar section, there's a checkbox option
below to choose if just registering the election or also creating it:
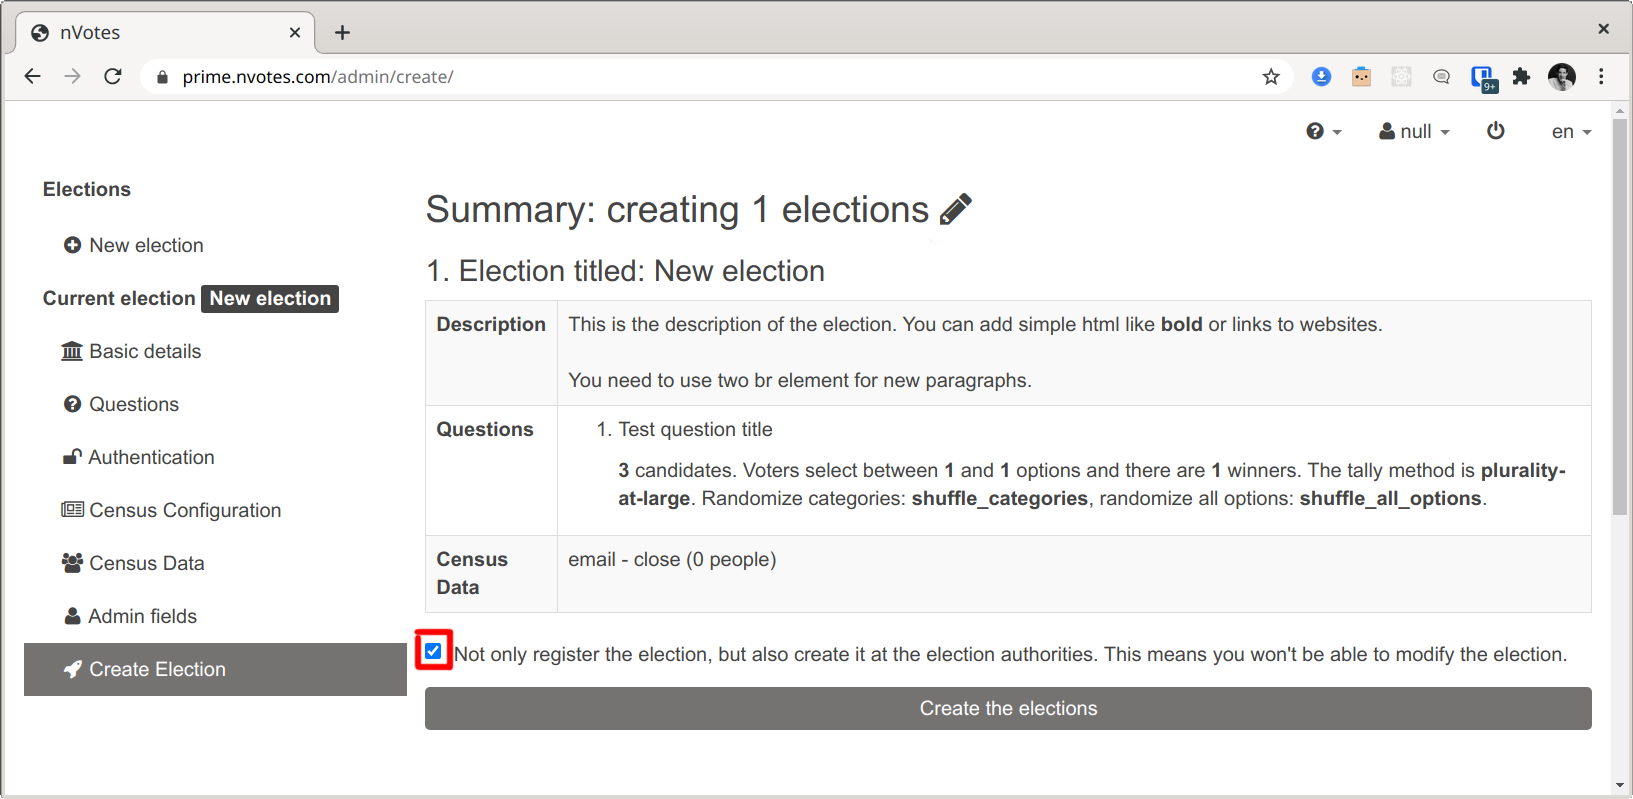
This checkbox is checked by default but can be disabled just by clicking on it. If disabled, the elections will just be registered but not created. This allows for changing the elections later on as will be discussed in the next section.
If the checkbox is checked, then the elections' public and private keys will be created. This will happen after the previous three steps of AuthEvent creation, census import and election registration has happened for all the elections. The creation of the public and private keys is the slowest part of the process and it takes around 30 seconds for each question with two election authorities.
Election's public and private keys creation can be requested later when an
election is in registered state by clicking in Create button from the
election dashboard:
Modifying elections
Elections can only be modified in ballot-box if virtual elections are
allowed in the deployment configuration, which can be enabled with the
config.ballot-box.virtualElectionsAllowed setting in the config.yml
deployment configuration file. This setting is set to false by default
because for security reasons virtual elections should not be enabled in
multi-tenant deployments.
When creating and configuring an election and more so if we are perhaps talking about advanced election configuration options set in JSON for a set of multiple elections, it's useful to register it but be able to edit it later.
One straightforward way to do this is having the elections' JSON configuration
in a file, copy and paste it into the Edit Election JSON dialog inside the
Create election sidebar section, and click the Create the elections button
with the checkbox Not only register the election, but also create it at the election authorities. This means you won't be able to modify the election. unchecked. You will have to
ensure that each election has a specific id assigned in the elections' JSON
configuration.
Once the elections are registered, you can enter each election dashboard and from there access the Demo voting booth and see if it works as expected, and you can even start or stop the elections and try to vote to see if the authentication worked. You won't be able to vote and the voting booth will fail to encrypt the ballot because at this point the elections' private and public keys are not created yet.
If there's any detail that you need to change, you can edit the elections JSON
configuration file, and then proceed again to follow the steps before for
creating the election: copy and paste the configuration into the
Edit Election JSON dialog inside the Create election sidebar section and
click again to create the elections. This will update the elections'
configuration as the system will have detected when an election with the
specified id already exists and can be edited as it's registered but not created.
Once the final elections configuration is in place, you can try to follow the same election creation/update procedure, but ensuring the checkbox to create the elections is checked.
In that case, the elections will first be updated (first the AuthEvent, then the census, and then the election), and then the public and private keys will be created.